Adafruit Pygamer
1/2/2021
I purchased this board in 2020 for testing, and found it to be quite interesting and fun.
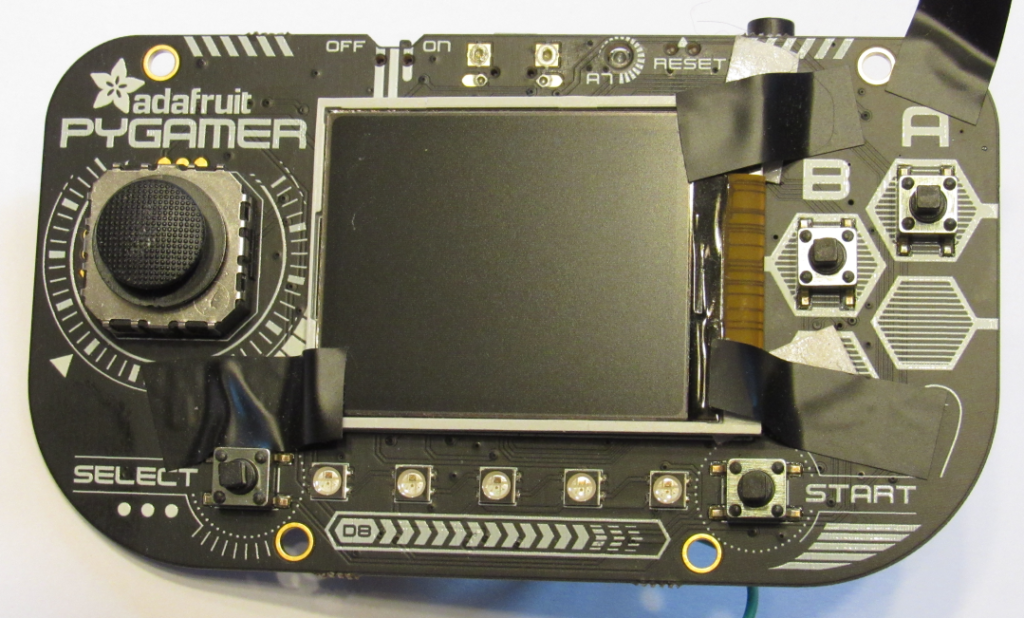
You can see in the image below that it has a built in display, joystick, buttons. Very nice, and they have library code to make the programming relatively easy.

I put some black tape to hold the display in place as it has a tendency to flop around and has a flimsy flat cable which could be kinked and damaged.
There is a long list of features, this is from the Adafruit website:
- ATSAMD51J19 @ 120MHz with 3.3V logic/power – 512KB of FLASH + 192KB of RAM (NOTE this is a less powerful version of the chip that is on the Grand Central M4 board)
- 8 MB of QSPI Flash for storing images, sounds, animations, whatever!
- Micro SD Card Slot for storing even more stuff when the QSPI flash isn’t enough
- 1.8″ 160×128 Color TFT Display connected to its own SPI port
- 1 x Analog Thumbstick with X and Y analog inputs
- 4 x Game/Control Buttons with square tops
- 5 x NeoPixels for dazzle, or game score-keeping
- Triple-axis accelerometer (motion sensor)
- Light sensor, reverse-mount so that it points out the front
- Stereo headphone jack
- Mono Class-D speaker driver for 4-8 ohm speakers, up to 2 Watts
- LiPoly battery port with built in recharging capability
- USB port for battery charging, programming and debugging
- Two female header strips with Feather-compatible pinout so you can plug any FeatherWings in
- JST ports for NeoPixels, sensor input, and I2C (you can fit I2C Grove connectors in here)
- Reset button
- On-Off switch
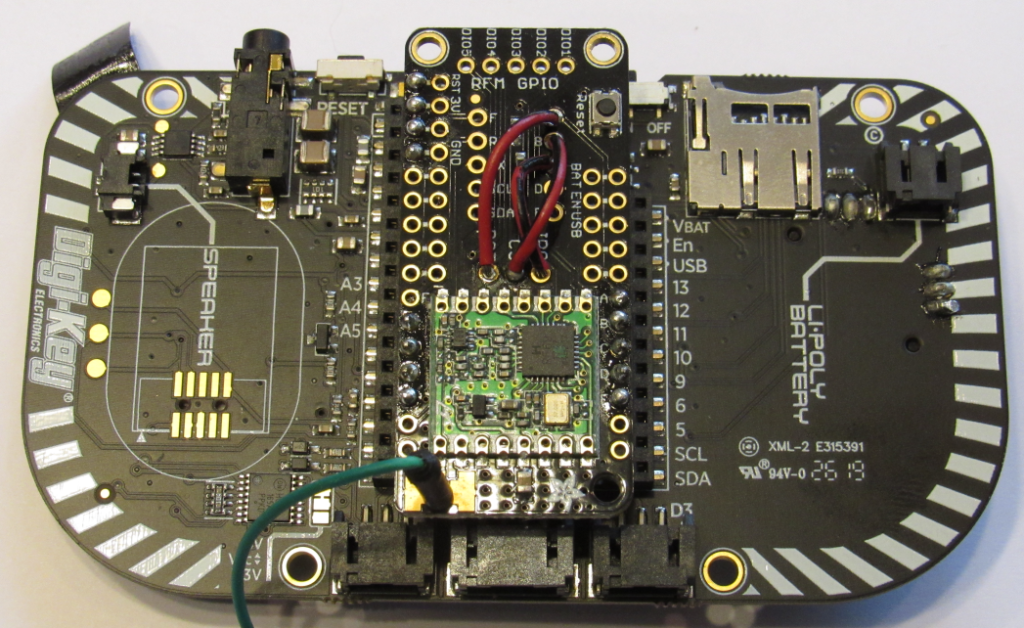
A major cool feature of this board is that is has a feather socket on the back! This means you can connect standard feathers to the base unit. For me, I connected a 900 Mhz feather to the socket and got the code to work for communication with a feather M0 with a 900Mhz radio. The radio is shown below:

Using libraries from Adafruit and others, I was able to read sensor data from the MO and send via radio to the pygamer. I could also send data and commands back from the pygmer to the M0. Using a menu example program, I setup the buttons so I could move up and down and select commands for the M0 to execute from the pygamer and send them over, and then read the results back in.
Because of the nature of the radios, they seem to work best with a good low level driver for packet radio that confirms each packet was received. The packets have a fixed size (like IP) so you have to fit your data into the packet size. I got a range of over 70 feet from inside the house to outside, which was pretty good considering the antennas are just pieces of wire.
Speed of transmission is not super fast, so this is not a replacement for a data logger for high speed data tracking. But for general data transmission, for status etc, this is great.
The next step for this would be to connect the units using connection oriented packet drivers and test fully outside (the pygamer can run from a 350+ mah lithium battery, which is great). In theory, the gamer could be used to talk wirelessly to a rocket sitting on the pad awaiting liftoff or possibly even with one in flight if the antenna could be beefed up a bit.
The 900 Mhz radios could be a good fit to allow the balloon to talk from the air to the satellite at night or under low power conditions, as backup to systems using wifi or other greater bandwidth networks.
For the ultimate in wireless, it would be cool to add a wifi connection using one of the 1500 boards or maybe and esp32.
